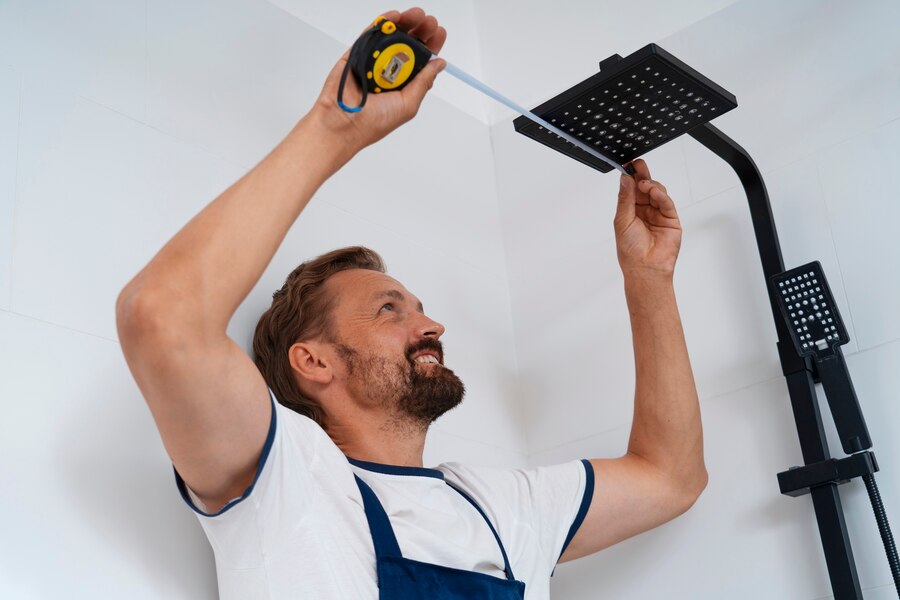
Installing a shower might seem like a daunting task… Let’s dive in!

Step 1: Gather Your Tools and Materials
Before you start, preparation is key. Having everything ready will save you countless trips to the hardware store. Here’s a checklist of what you’ll need:
- Shower unit (kit or individual parts)
- Adjustable wrench
- Screwdriver
- Level
- Drill
- Plumbing tape (Teflon tape)
- Silicone sealant
- Measuring tape
It’s also smart to wear gloves and have a towel handy for unexpected spills.
Step 2: Plan and Prep the Space
Measure Twice, Cut Once
Measure the area where the shower will be installed. Make sure you know the dimensions of your shower unit to avoid surprises later. Use a level to confirm the walls are straight, and note any uneven areas.
Turn Off the Water Supply
Before you begin, shut off the water supply. This simple step will save you from unexpected waterworks while working.
Step 3: Remove the Old Shower (If Necessary)
If you’re replacing an existing shower, you’ll need to remove it first.
1. Disconnect the Water Lines
Use your adjustable wrench to disconnect the shower’s water supply lines. Place a bucket underneath to catch any leftover water.
2. Take Out the Old Unit
Unscrew the showerhead, handle, and trim plate. If you’re removing a shower stall or tiles, use a pry bar carefully to avoid damaging the wall.
Step 4: Install the Shower Pan or Base
Find the Perfect Fit
Place the shower base in the designated area. Check if it’s level using your trusty level tool. If the base isn’t level, adjust it with shims or follow the manufacturer’s instructions.
Secure the Base
Once level, secure the base to the floor using screws or adhesive, as instructed. Seal around the edges with silicone to prevent water from seeping underneath.
Step 5: Install the Plumbing Fixtures
Attach the Drain
Install the shower drain according to the manufacturer’s guide. Apply plumber’s putty around the drain flange for a watertight seal.
Connect the Shower Valve
This is the heart of your shower. Mount the valve at the recommended height, ensuring it’s centered. Use plumbing tape on the threads for a tight seal, then secure it to the pipes.
Tip: Label the hot and cold water lines to avoid confusion later!
Step 6: Install the Shower Walls
Dry Fit First
Place the shower panels or tiles without adhesive to ensure they fit perfectly. Trim any excess using a utility knife or saw.
Secure the Panels
Once satisfied, apply adhesive or screws to fix the panels in place. Make sure to seal all edges with silicone for extra protection against leaks.
Step 7: Add the Showerhead and Controls
Attach the Shower Arm
Wrap Teflon tape around the shower arm’s threads, then screw it into the wall fitting.
Install the Showerhead
Simply screw the showerhead onto the arm. Hand-tighten it, then give it a quarter-turn with a wrench for a snug fit.
Mount the Controls
Attach the handle and any other trim pieces to the valve. Follow the instructions in the kit to ensure everything is aligned.
Step 8: Test for Leaks
Turn On the Water
Slowly turn the water supply back on. Check all connections for leaks. If you find any, tighten the fittings or reapply plumbing tape.
Test the Shower
Run the shower to ensure proper water pressure and temperature. Adjust the controls if necessary.
—
Step 9: Final Touches
Seal Everything
Use silicone sealant to fill any gaps between the shower walls and the base. Let it cure for at least 24 hours before using the shower.
Clean Up
Wipe down the shower with a damp cloth to remove any construction dust or fingerprints.
Tips for a Professional Finish
Add shelving or caddies for storage convenience.
Use a color-matching silicone for a seamless look.
Install a shower curtain or door to prevent splashes.